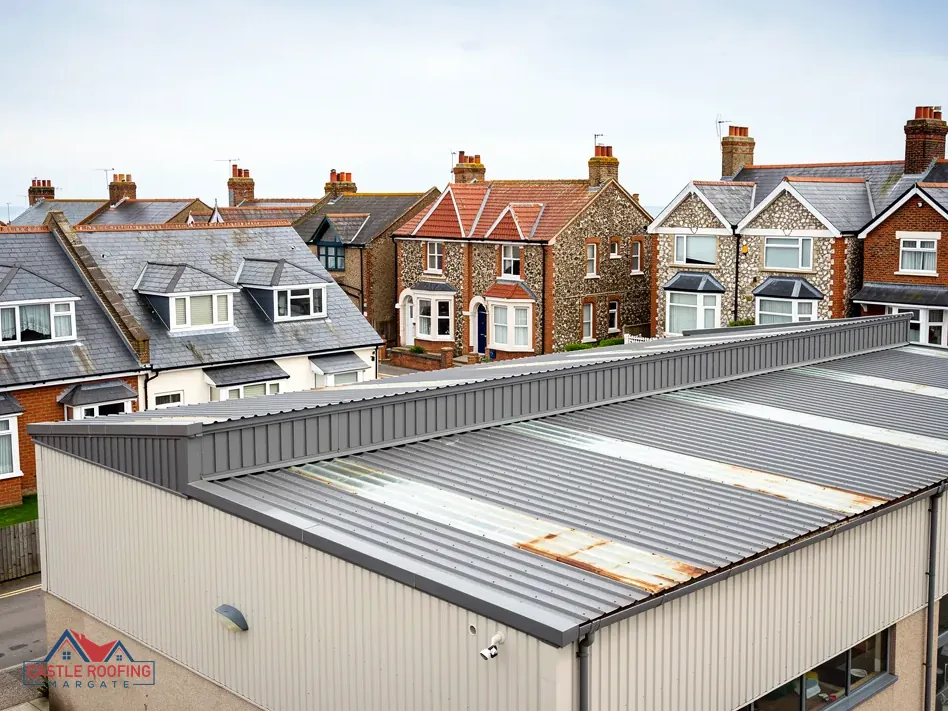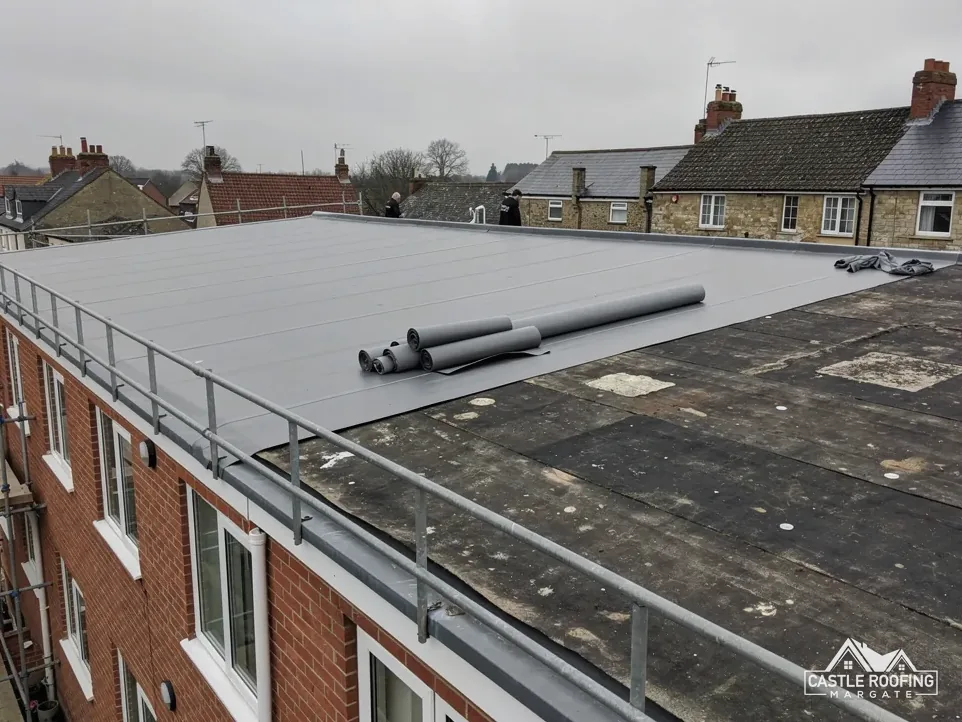
Use this as a checklist when you book a survey or compare two. It sets out each stage of a commercial roof survey, the standards behind the checks, and what the written report and price should contain.
Nobody can price a commercial roof properly from a photograph. Two roofs of the same size on the same estate can need very different work: one has a sound covering with a blocked outlet, the other has wet insulation under a tired membrane. The difference only shows when somebody goes up, looks closely and records what is there.
That is what a survey is for. It is a methodical look at the whole roof and its drainage, done before any price is given, so that the work proposed follows the roof's actual condition. A survey also tells you what is not wrong, which can save paying for work nobody needs.
This guide follows the order of a visit to a commercial building: asbestos first, then access and safety, then the covering, the falls and outlets, the details and edges, and finally the report. It belongs with our commercial roofing work in Thanet and East Kent, and it applies equally to a shop in a high street, a unit on an industrial estate or a barn that has changed use.
Our visit always comes before a price, and the pictures we take come back to you with the report. Nothing in that order can be dropped to save time.
Asbestos is checked before anyone climbs
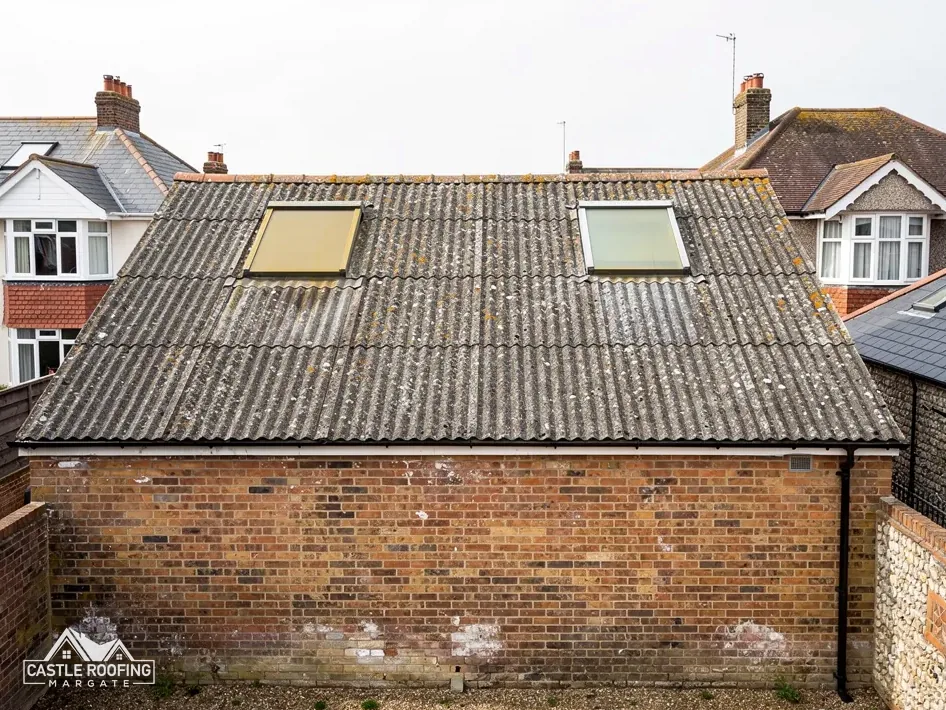
The first question on any older commercial building is whether the roof contains asbestos. In HSE terms, a building from before 2000 is treated as containing asbestos unless a test shows otherwise, and in A14 the HSE describes an asbestos cement roof as fragile every time. Both shape how the visit is run, so the question is settled before a ladder goes up. Ask for the answer in writing, with the date of any sample and the laboratory that analysed it.
That means looking for an existing asbestos register or survey, asking about past refurbishment and, where there is doubt, taking a sample for analysis. MyJobQuote gives a typical UK cost of £325 for an asbestos survey, a general figure and not a price for your building. Our guide to the asbestos survey before roof work explains the process.
Why this comes first:
- sheeted roofs may be asbestos cement, and walking on them is dangerous
- drilling, sampling or fixing into the material can release fibres
- the answer sets which method, which contractor and which waste route the work needs
- a quote given before the result is a guess on the largest cost item
If the building is clear of asbestos, the survey continues straight away, and the report records how that was established. If it is not, the survey becomes a different job, done from a safe position, and the work that follows is priced on what the sample showed.
Getting onto the roof, and staying safe on it
How the surveyor reaches the roof is part of the survey. A flat roof with a fixed ladder and a parapet is one thing; a sheeted roof with no access at all is another. The visit starts with a look at the way up, the edges, the rooflights and the surface, and the surveyor decides from there whether to walk the roof, work from a platform or survey from below and from a distance.
The standards in play are the Work at Height Regulations 2005, whose regulation 6(3) calls for suitable and sufficient measures against falls, and the HSE's A14 on fragile surfaces. Our guide to fragile roof safety sets out how those apply to sheeted roofs and rooflights.
Things the surveyor notes before stepping onto the surface:
- Where the edges are unprotected, and whether there is a parapet or guard rail.
- Which areas are fragile: old rooflights, cement sheets, rusted metal.
- Whether the roof is wet, frosted or windy enough to make the visit unsafe.
- Where services, vents and plant restrict the way across.
- Who else is on site, and which areas below must be kept clear.
If the roof cannot be walked safely, the survey uses a camera on a pole, a view from a neighbouring roof or an access platform. The method is stated in the report, so you know what was seen directly and what was not. That honesty protects you if a hidden fault turns up later.
The covering, the falls and the outlets
Once on the roof, the surveyor works across the whole area in a pattern, rather than going to the stain. Water seldom enters where it shows below, because it travels along the deck and the insulation before it drips.
| Item | What is looked for | Why it matters |
|---|---|---|
| Covering | Splits, blisters, lifted laps | Where water gets in |
| Falls | Ponding and standing water | Water that cannot leave |
| Outlets and gutters | Blockage, silt, plants | Overflow into the building |
| Fixings | Loose or rusted fasteners | Sheets that lift or leak |
On falls, the 2025 edition of BS 6229 is the code for membrane flat roofs, and trade guidance on it sets 1:80 as the minimum finished fall. The membrane maker IKO advises designing to 1:40 instead. Water still lying on the surface after rain points to a shortfall on one side or the other, and the surveyor notes where it sits and how deep it lies, since a shallow film dries off and a deep pond does not.
For gutters the rule of thumb is a fall of 1 mm for every 600 mm, as Brett Martin gives it in its installation advice. Outlets are checked for blockage first, because a blocked outlet is the simplest cause of a leak to put right. Leaves, silt and moss build up behind a grating, and a fair-sized roof can hold a great deal of water before anyone notices.
Details, edges and what lies underneath
A detail is where a covering is cut, lapped or turned, so the surveyor spends as long at the junctions as on the main surface.
The details covered on a typical visit:
- upstands and abutments where the roof meets a wall, and the flashings that close them
- rooflights, their kerbs and the seals around them
- pipe and vent penetrations, and the collars around them
- parapet copings, edge trims and drip details
- expansion joints and the junctions between different coverings
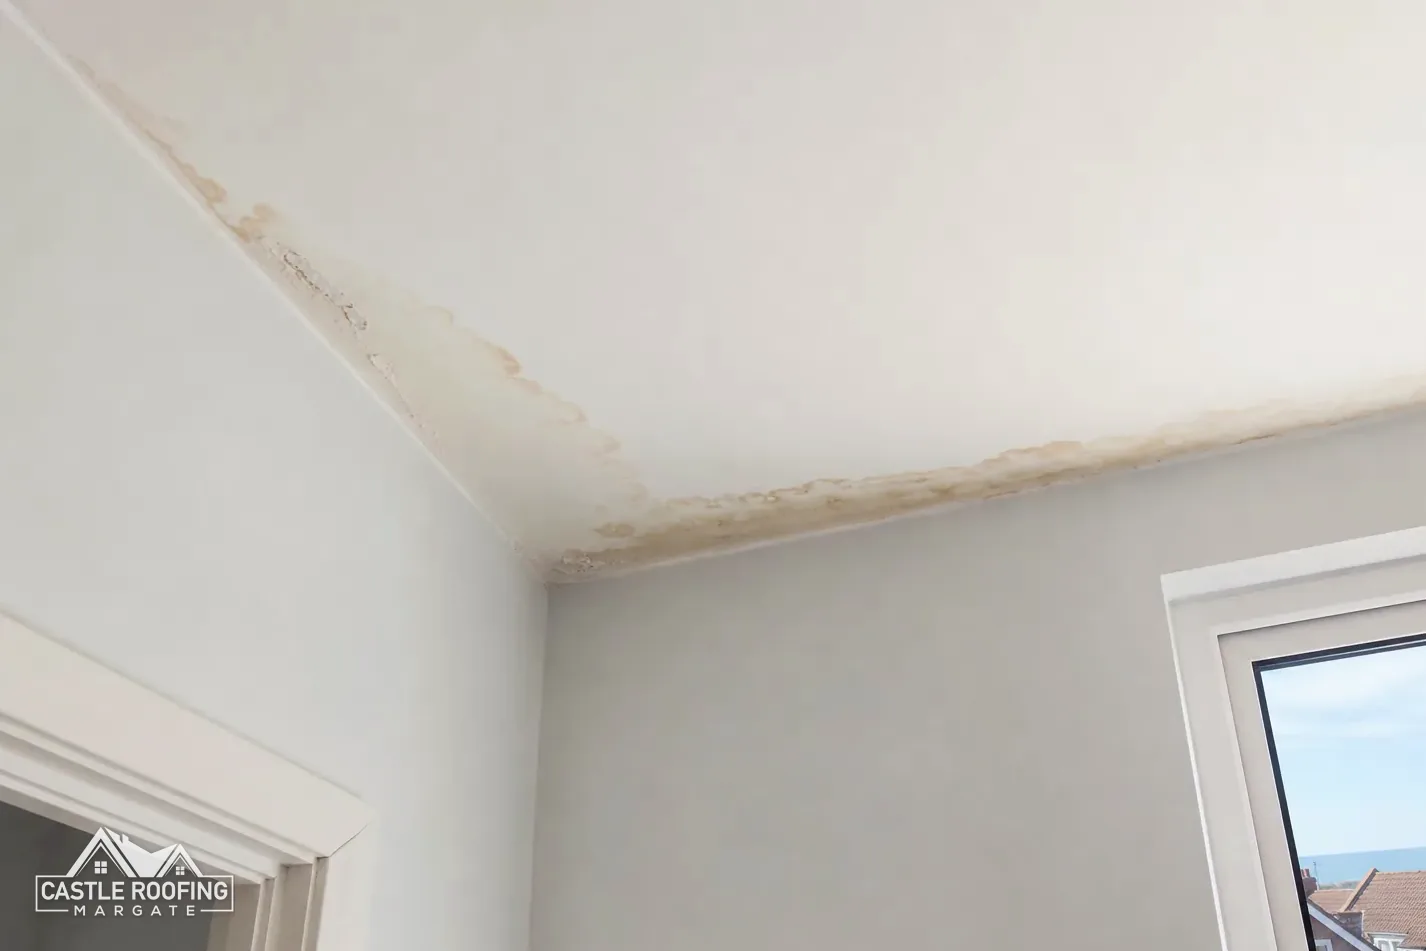
Below the covering, the surveyor looks for signs of wet insulation and a damp deck. Soft spots underfoot, dark patches on the underside, stained ceilings and rusted fixings all point to water that has been getting in for some time. BS 5250:2021 is the code on managing moisture in buildings, and the sort of trapped damp it describes is a reason not to coat or overlay a roof until the cause is found.
Inside the building, the surveyor looks from the floor up: ceiling tiles, steelwork, the underside of the sheeting and any condensation. A roof that leaks from outside and a roof that condenses from inside need different treatments, and the visit has to tell them apart.
Photos are taken of every finding, so the report shows what the surveyor saw. Each one is numbered on a plan of the roof, so a finding can be found again by the person who comes to fix it.
How often a survey is worth repeating
A survey is a snapshot. It records the roof on the day, and its value fades as the roof ages and weather works on it. The sensible rhythm for a commercial roof is a regular inspection, with a closer look after any severe weather or after anything has been done on the roof by another trade.
Events that justify another look include:
- a storm that has damaged neighbouring roofs or blown debris onto yours
- plant, aerials or solar panels being fitted, which means people on the roof
- a tenant change or a change of use below
- a leak that has been patched and then returned
- the end of any period you have relied on a repair to last
Our guide on how often to inspect a commercial roof goes through the intervals in more detail. The cost of a survey is small against the cost of a failed roof: MyJobQuote gives a typical UK figure of around £300 for a roof survey, a general guide and not a price from us.
Keep every report. A run of dated reports with photos is the history of the roof, and it helps when you sell the building, change the insurance or take a tenant on a repairing lease. It also shows how quickly a fault is developing, which a single visit never can. Two reports a year apart tell you more about a stain than any one of them alone.
The written report and one total price
The survey ends with a written report. A good report is short, specific and dated, and it is written so that someone who was not there could understand it. It should carry:
- the building, the address and the date of the visit
- the covering, its approximate age and its condition area by area
- the falls, the outlets and the drainage findings
- fragile areas, rooflights and edge hazards
- the asbestos position, and how it was settled
- photos of each finding, with a note of where it is on the roof
- the recommended work, in order, and what can wait
After the report comes the price. You receive one written total price for the recommended work, and the price names that work so that you can compare it with another firm's quote. If you decide to do only part of it, say so and we price that part.
The work is then put in order of urgency. Something letting water in comes first, then what will fail soon, then what is only cosmetic. Good advice includes naming what not to spend money on: a repair suits a roof with life left in it, and replacement comes only when a repair would not last. The report says which of those applies.
Sometimes the survey finds nothing that needs doing, and the report says so. That is a result as well, and it is worth having on file.